Gingerbread Cookies
Worlds Best Gingerbread Cookie…(Yes… really.)
This mix of brown sugar, molasses, honey, and warm spices transforms the kitchen into pure Christmas magic.
This is my absolute favorite gingerbread cookie recipe — soft enough to enjoy on their own, sturdy enough for decorating, and rich with that classic, old-fashioned gingerbread flavor. Whether you’re making gingerbread men with the kids, edible ornaments, or a display-worthy cookie board, this dough rolls beautifully and bakes up perfectly every time.

⭐️ The World’s Best Gingerbread Cookies
(Yes… really.)
Ingredients
🎄 Why This Is the Best Gingerbread Cookie Recipe
✓ Easy to roll – dough stays workable but firm
✓ Soft but sturdy – ideal for decorating or hanging as ornaments
✓ Deep, warm flavor – molasses + honey + spices = perfection
✓ Family friendly – great for kids, cookie parties, or holiday traditions
✓ Makes beautiful Christmas cookies – classic shapes that hold their edges
From My Farmhouse Kitchen
These cookies have become a must-bake every Christmas around here. The smell alone is worth making them — but biting into one while the kids decorate at the table? That’s the real magic.
Whether you’re gifting them, decorating them, or making memories with your family, I hope this recipe becomes part of your holiday traditions too. ❤️🎄
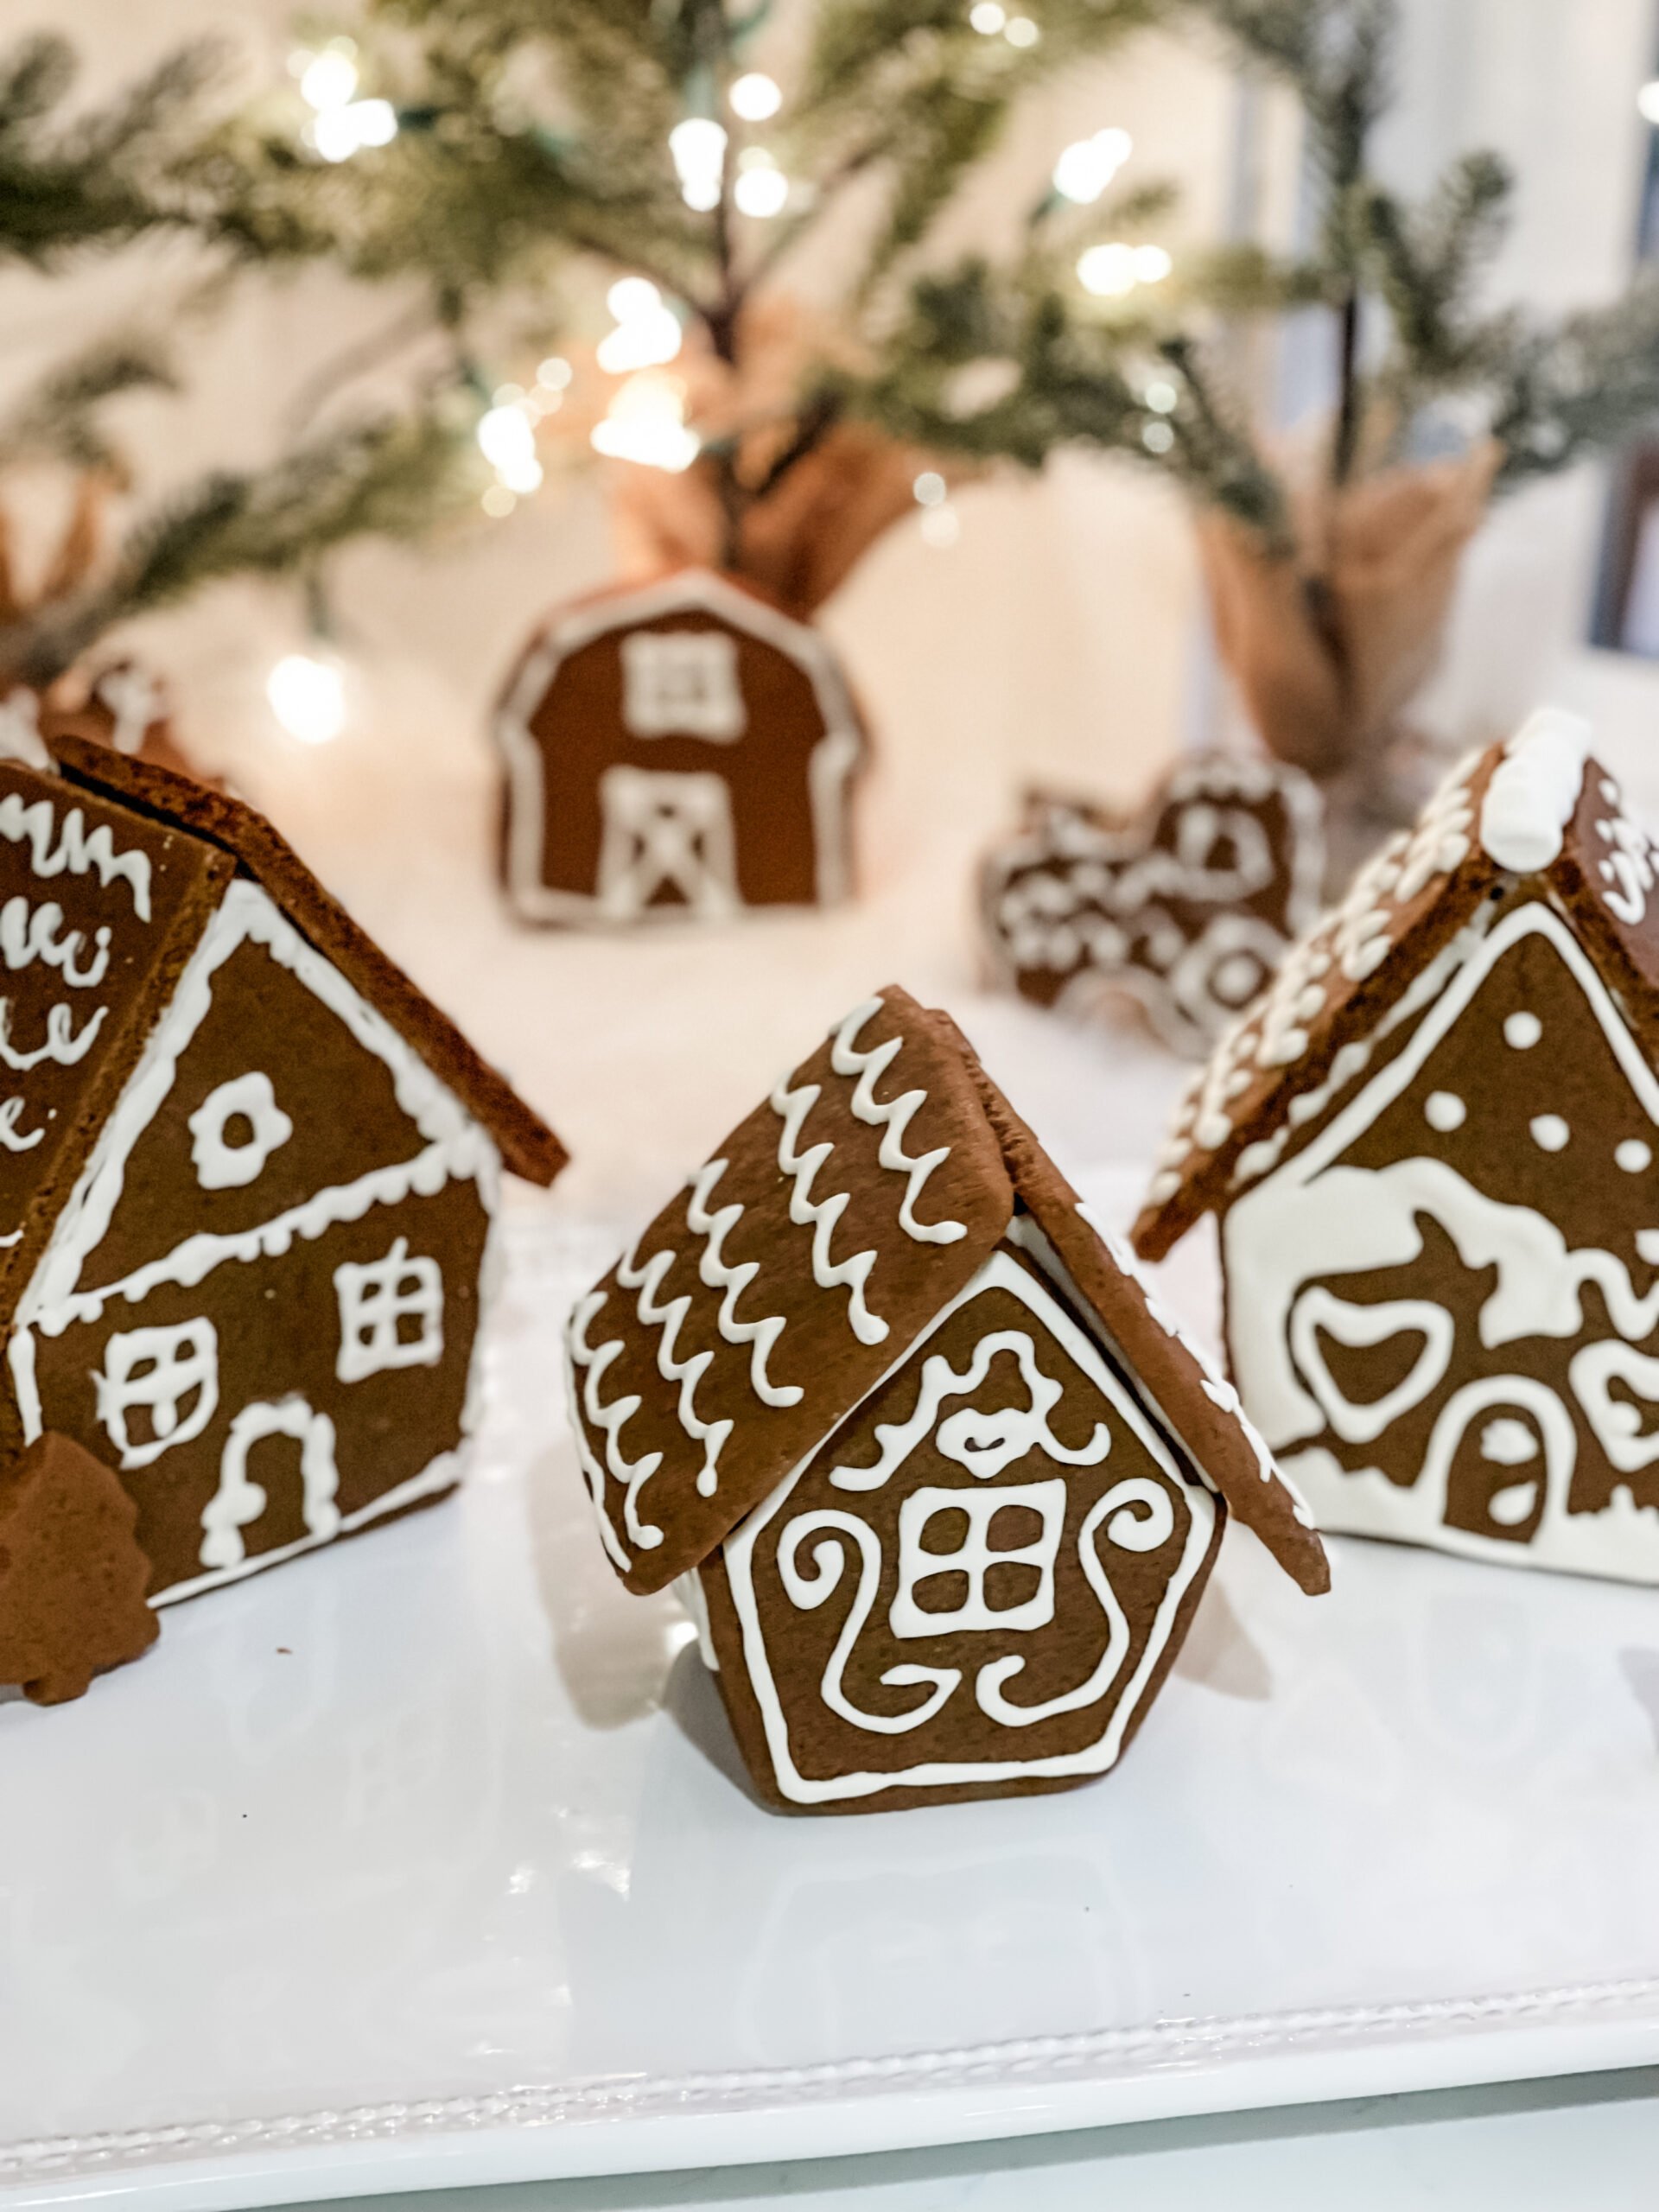
World’s Best Gingerbread Cookies!
Ingredients
Method
- Cream the butter + sugars
- In a large mixer bowl, cream the softened butter, brown sugar, honey, and molasses until smooth and fluffy.
- Add the eggs + spices
- Mix in the eggs, ginger, cinnamon, allspice, baking soda, and flour.
- Start on low speed and scrape the bowl as needed until everything is fully combined (about 1–2 minutes).
- Chill the dough
- Cover and refrigerate for 2 hours.
- Tip: To speed cooling, divide the dough into 2–3 sections, flatten each into a 1–inch thick slab inside a zip-top bag, and chill.
- Take out one slab at a time when you’re ready to roll.
- Preheat the oven
- Heat your oven to 350°F and line baking sheets with parchment paper.
- Roll + cut the cookies
- On a lightly floured surface, roll one portion of dough at a time to ¼-inch thickness.
- Use 3-inch cookie cutters and place cookies 1 inch apart on prepared sheets.
- Bake
- Bake for 10 minutes, or until the edges are lightly golden.
- Cool completely before decorating.
- 🍬 Royal Icing for Gingerbread Cookies
- Make the icing
- In a small mixer bowl, beat the egg whites + powdered sugar on low speed.
- Add milk, a tiny bit at a time, until it reaches your desired piping consistency.
- Add natural food coloring if you want colorful designs.
- Decorate!
- Pipe, outline, swirl, dip — have fun with it!
- The icing dries firm, making these cookies perfect for gifting or packaging.
Did You Make This Recipe?
Let us know what you think?
🍪 Farmhouse Tip
Store cookies in an airtight container for up to a week, or freeze decorated or undecorated cookies for up to 3 months. They thaw beautifully.
Royal Icing Tips:
1. Mix the icing
Add the egg whites and powdered sugar to a bowl. Using a hand mixer on low (or the paddle attachment on your stand mixer), beat for about 5 minutes.
Keeping the speed low helps prevent too much air from getting in — which means fewer bubbles in your icing later.
2. Check the consistency
When it’s ready, the icing will be bright white, thick, and hold a stiff peak when you lift the mixer.
This is your base consistency for outlining cookies.
3. Keep it covered
Royal icing dries out fast, so always keep the bowl covered with a damp cloth or press plastic wrap directly onto the surface to prevent crusting.
4. Adjust for outlining vs. flooding
• For outlining and details → keep the icing thick.
• For flooding → thin it out by adding water 1 teaspoon at a time, gently stirring until it settles smoothly within 5–10 seconds after drizzling.
5. Color carefully
Add food coloring only after the icing is fully mixed.
Gel food coloring works best — it gives strong color without thinning your icing.
6. Store properly
Keep icing in an airtight container. If you’re not using it right away, press plastic wrap onto the surface to keep it from forming a skin.
7. Remove air bubbles
If bubbles appear, tap the bowl on the counter or pop them with a toothpick before piping to ensure smooth lines.
8. Pipe and decorate
Use a narrow piping tip for clean lines, or simply fill the corner of a zip-top bag, snip the tiniest opening, and pipe away!