Old-Fashioned Butter Mints
— A Classic Homemade Holiday Treat
If you are looking for a nostalgic treat, look no further than these old-fashioned butter mints—the kind you remember scooping from pretty little bowls at holidays, weddings, and family gatherings. Soft, creamy, and delicately minty, these little candies melt instantly on your tongue and taste like pure Christmas magic.
And the best part?
They’re incredibly easy to make at home with just a few pantry staples, plus you can make them all natural and skip the artificial dyes!!
If you’ve never tried making butter mints before, you’re going to be shocked at how simple, satisfying, and downright fun the process is. They’re a perfect holiday kitchen project, kid-friendly, and make a beautiful homemade gift for neighbors, teachers, or tucked into cookie boxes.
⭐ Ingredients You’ll Need
- 4 cups powdered sugar
- 1 stick salted butter (8 Tbsp), room temperature
- 1 Tbsp half-and-half or heavy cream
- Pinch of salt (less than ⅛ tsp)
- ½ tsp peppermint extract
- 1 tsp vanilla extract
- A few drops natural food coloring (optional for pastel holiday colors)
👩🍳 How to Make Homemade Butter Mints
1. Beat the butter
Add softened butter to your stand mixer and whip until completely smooth and creamy.
2. Mix in the remaining ingredients
Add powdered sugar, cream, salt, peppermint, vanilla, and coloring if using.
Mix until a soft, dough-like consistency forms and everything is well incorporated.
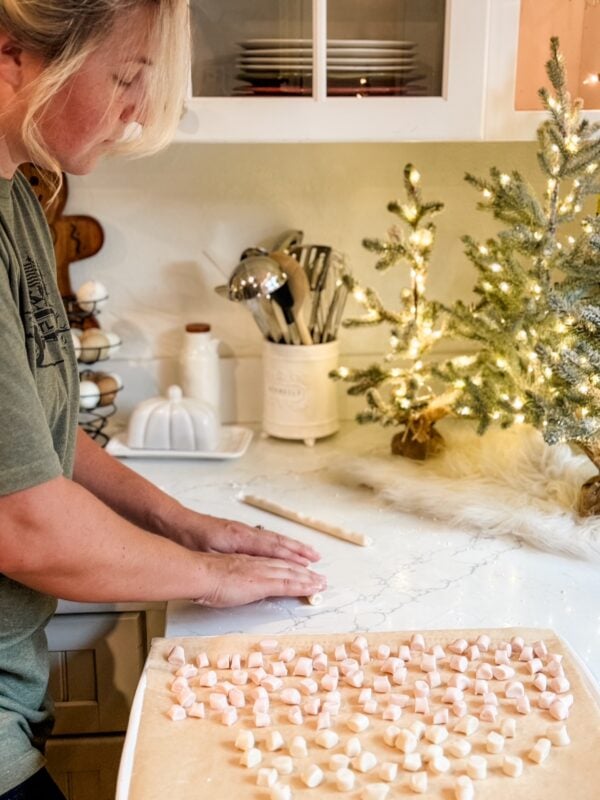
3. Roll into ropes
Dust your countertop with a little powdered sugar.
Divide the dough into sections and roll each piece into long ropes about the thickness of string cheese, maybe a little thinner.
Tip: Keep sections of unused dough covered with a damp paper towel or plastic wrap so they don’t dry out while you work.
4. Slice into mints
Use a sharp knife to cut small, bite-sized pieces.
This is the step kids love helping with!
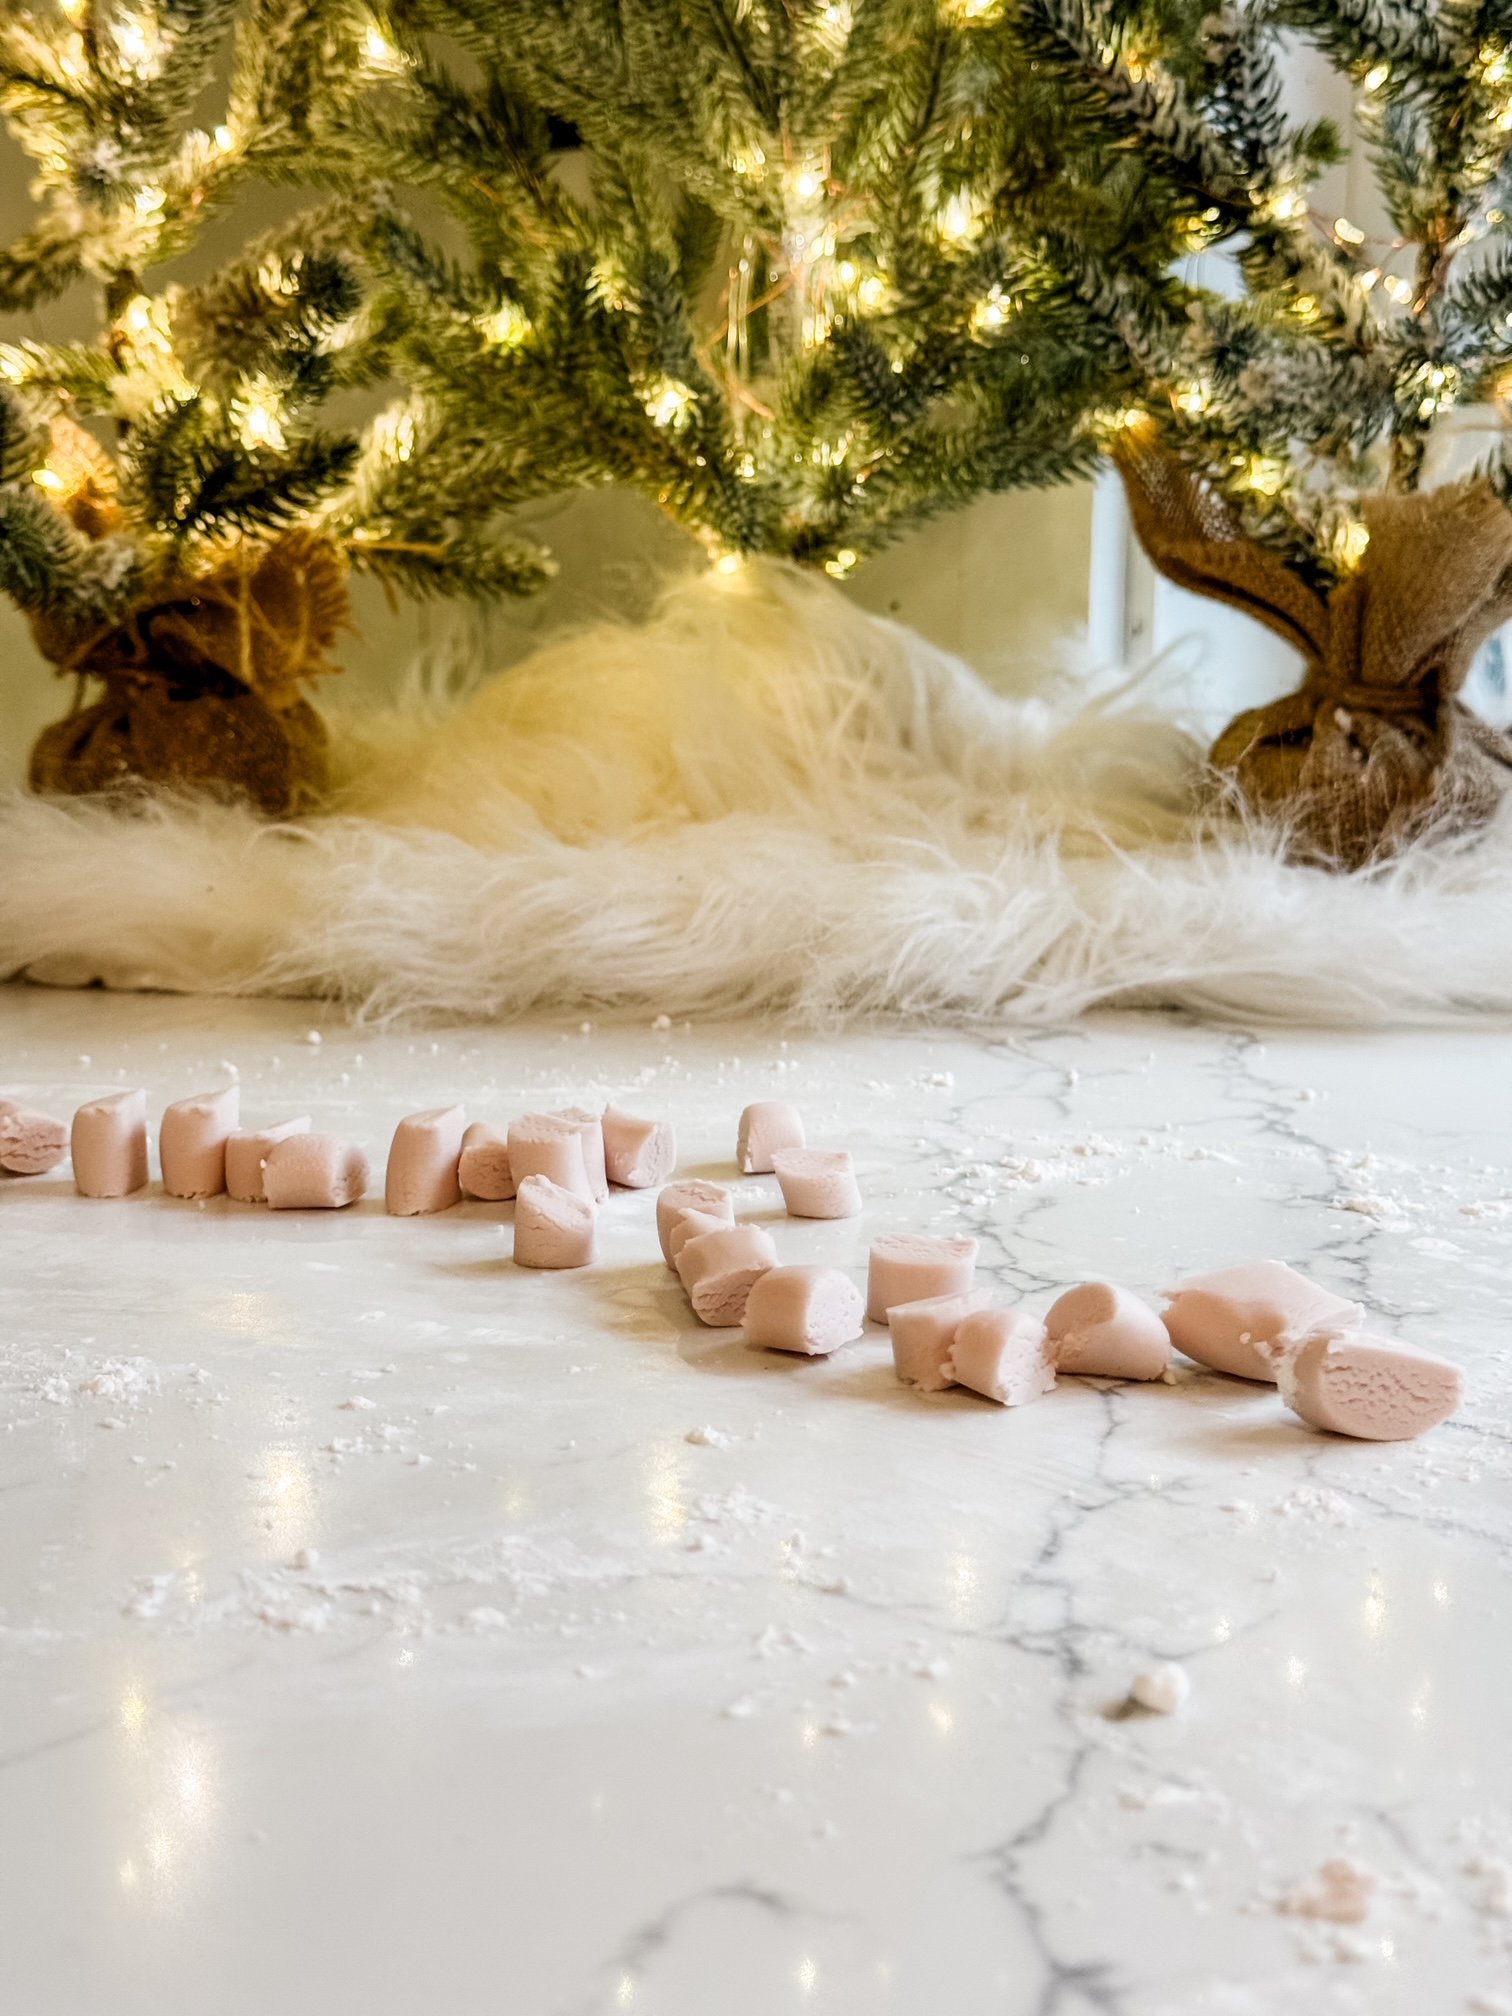
5. Let them dry
Spread the mints out on a parchment or wax-paper-lined tray and let them dry uncovered overnight.
This helps them firm up while still keeping their soft, melt-in-your-mouth texture.
6. Store
Once dry, store your butter mints in:
- a zip-top bag in the fridge, or
- an airtight container at room temperature
They keep beautifully for weeks (and taste even better after the first day).
🎄 Why These Are Perfect for Christmas
Homemade butter mints are:
- Beautifully giftable
- Easy to make in big batches
- Soft, creamy, and nostalgic
- Naturally colored (if you use natural dyes)
- Great for dessert tables and party bowls
Try tinting them pale pink, mint green, soft yellow, or leave them classic white for a timeless look.
🎁 Gifting Ideas
Pair them with:
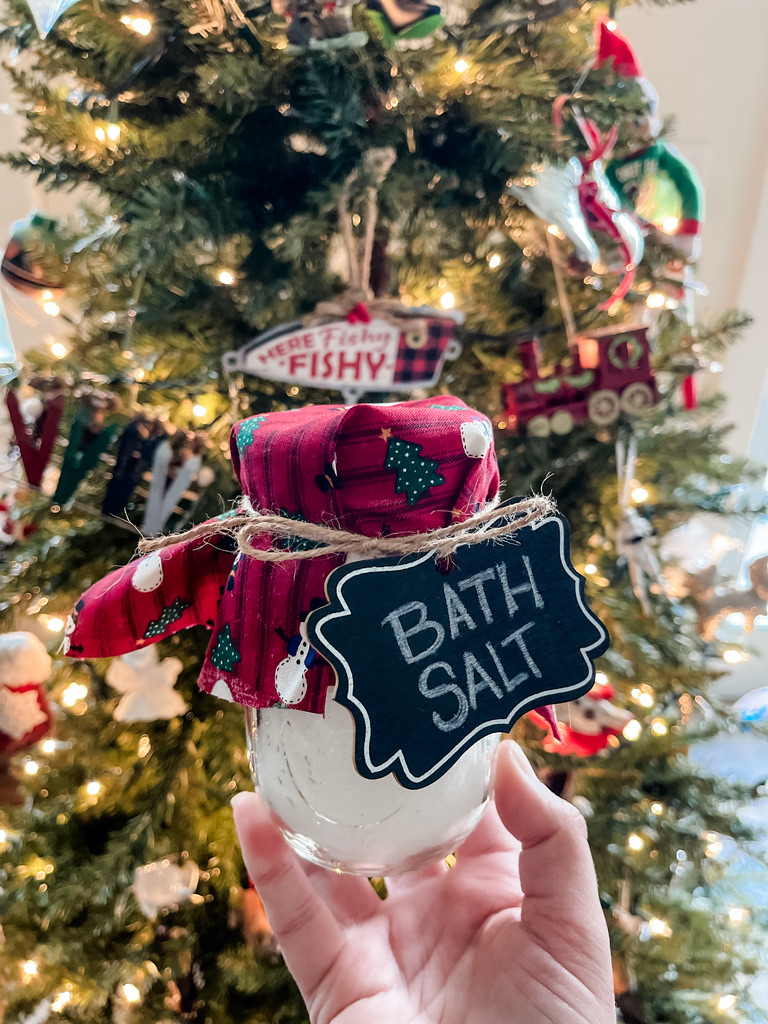
- A mason jar tied with twine
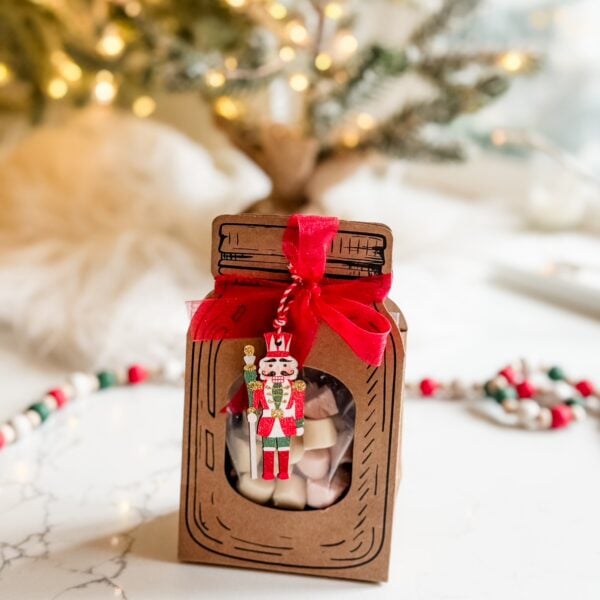
- A kraft paper treat bag with a printable label
- A small tin tucked inside a cookie box
- A Christmas mug or cocoa gift set
They’re the perfect little “extra touch” that makes a holiday gift feel homemade and heartfelt.
From My Farmhouse Kitchen
These old-fashioned butter mints have quickly become one of my favorite nostalgic treats to make during the holidays. They’re simple, sweet, and taste like something your grandmother would have kept in her candy dish. I hope they find a place in your Christmas traditions, too.
Old Fashioned Butter Mints
Ingredients
Method
- Add softened butter to your stand mixer and whip until completely smooth and creamy.
- Add powdered sugar, cream, salt, peppermint, vanilla, and coloring if using.
- Mix until a soft, dough-like consistency forms and everything is well incorporated.
- Dust your countertop with a little powdered sugar.
- Divide the dough into sections and roll each piece into long ropes about the thickness of string cheese.
- Tip: Keep sections of unused dough covered with a damp paper towel or plastic wrap so they don’t dry out while you work.
- Use a sharp knife to cut small, bite-sized pieces.
- This is the step kids love helping with!
Did You Make This Recipe?
Let us know what you think?